
Summits on the Air is an International Program for the Amateur Radio community that promotes remote operation on mountain tops designated within the program - operation MUST be portable and the last 100 vertical feet to the summit must be navigated on foot. A great way to enjoy amateur radio AND see beautiful country!

For my SOTA excursions I purchased and built a new Elecraft KX1 ultra portable transceiver.
 Antenna research led me to believe a Magnetic Loop Antenna may be the most portable option - so I proceeded to build one!
I used LMR-400 coax cut to 9 feet with PL-259 connectors on each end.


This gave me a "loop" with roughly 3 foot diameter. The driven element of the loop is approximately 1/5th the size of the main loop. I cut a 24" length of #14 stranded insulated wire and soldered the ends to a BNC connector. The small loop was attached to a plastic disc to hold shape. I secured this wire to the outer edge of the disc with plastic tie wraps and the disc is secured to a 18" piece of 3/4" PVC pipe. One end of this pipe has a 3/4" slip joint glued on while the other has a 3/4" "T" with half the "T" cut off to form a trough for the main loop to set in. Another 18" piece of 3/4" PVC pipe slips into the open joint on the above pipe and forms a spreader/support for the loop.
 I used a plastic outdoor electrical wall outlet box for the tuner. The spreader pipe assembly slips into the outlet on one end of the box with a 3/4" to 1" reducer. Inside the box I mounted a 30 to 150pf butterfly variable capacitor.


 This cap tunes the loop for 20 meters. For 40 and 30 meter operation I added a switch in top of the box that switches in additional capacitance for each band to get the appropriate capacitance to tune each band. I used trimmer caps to adjust the added capacitance so the tuning indicator fell within the space on the front of the box. I marked the resonance point with arrows on the front to make it easy to find the tuning in the field. I carry a 4' piece of 1"PVC pipe as my walking stick which also doubles as the mast for the loop antenna - here's a picture of my SOTA station set up on a picnic table for testing:


This gave me a "loop" with roughly 3 foot diameter. The driven element of the loop is approximately 1/5th the size of the main loop. I cut a 24" length of #14 stranded insulated wire and soldered the ends to a BNC connector. The small loop was attached to a plastic disc to hold shape. I secured this wire to the outer edge of the disc with plastic tie wraps and the disc is secured to a 18" piece of 3/4" PVC pipe. One end of this pipe has a 3/4" slip joint glued on while the other has a 3/4" "T" with half the "T" cut off to form a trough for the main loop to set in. Another 18" piece of 3/4" PVC pipe slips into the open joint on the above pipe and forms a spreader/support for the loop.


 |
| The SOTA Station |
 The entire station (minus the mast) fits easily into a day pack with room to spare for food, water and survival essentials. I carry bungie cords to lash the mast to a small tree or stump in the field. On mountain tops above timber line I use a PVC coupler that slips over the top of the mast just below the tuner to which I attached 3 small cords that I can use as guy lines.
September 2015 - after 55 activations I finally felt ready to attempt Tinker Knob along the Pacific Crest Trail just west of Lake Tahoe. The 7.5 mile trek from Donner Pass to Tinker Knob was truly amazing
 |
| GPS Track |
 First view of Tinker Knob
3 miles out.
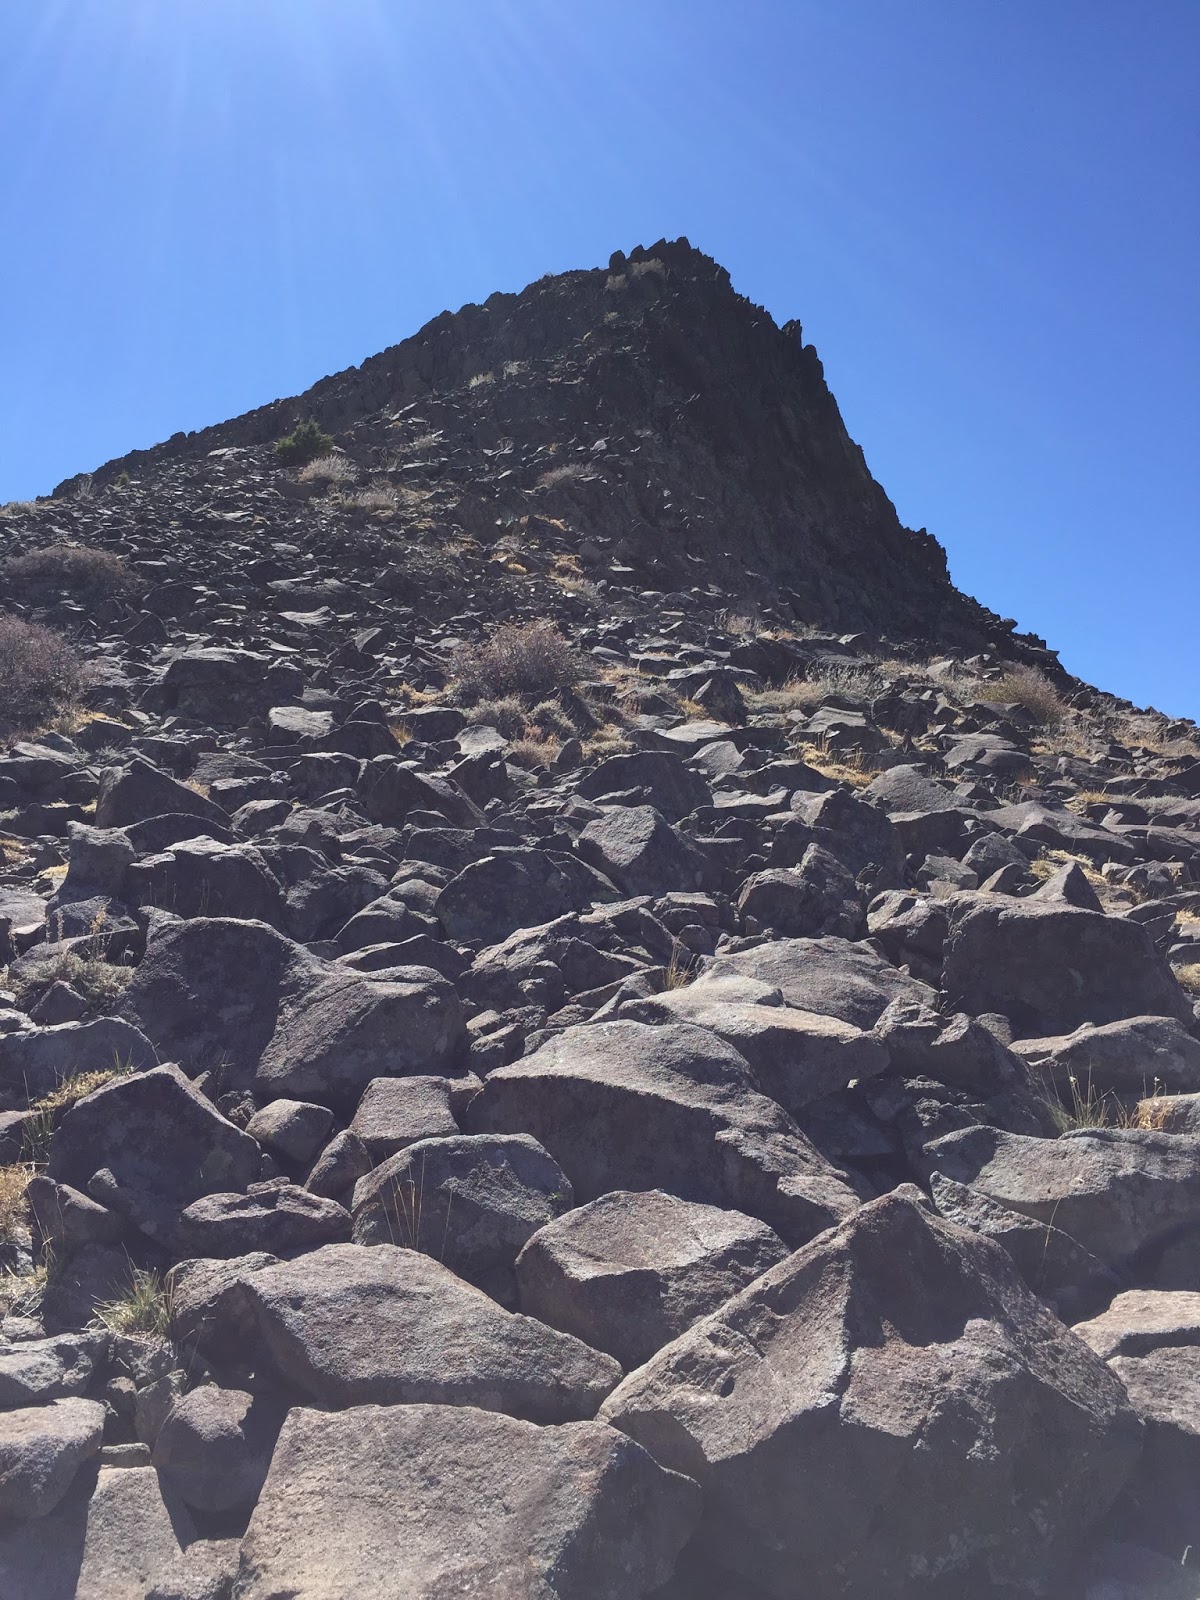
at the base looking up - rocky path to the top - not as bad as it looks in this picture ;


station set up on summit
Activation!

View from the top!!
No comments:
Post a Comment